")
An inspection of an used oil filter can be quite helpful to determine the condition of the engine. By dissecting a filter, you can discover information about the quality of the filter itself by checking for collapsed media, bad seals or weak points that may have formed in the filter media during use. You may also learn a lot about the health of the engine by analysing the debris caught in the filter.
The purpose of the oil filter is to trap contaminants suspended in the engine oil as it flows through the filter. This is accomplished by the filter medium inside the filter body. The medium typically allows the passage of very small particles (less than 5 microns) but traps the larger ones (greater than 5 microns). These are the ones you will find inside a filter when it is dissected.
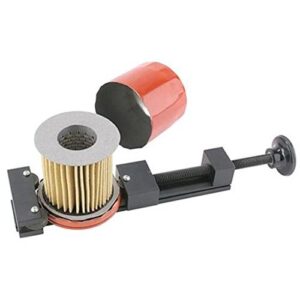
If the filter is of the canister type, a simple and inexpensive method is to cut the filter housing open to remove the media. There are special tools available to do so. A typical example is shown on the right. Do not use a hacksaw since the metal shavings could be mistaken for wear metals. Once open, slice the filter media away from the centre tube with a sharp knife or razor blade. Lay the media out onto a clean surface and spread the pleats apart to look for any contaminants.
Filters prevent large particles from damaging the engine, but they also mask significant component wear from regular oil analysis. Following is a discussion of what you must look for in the filter media:
Ferrous Metals
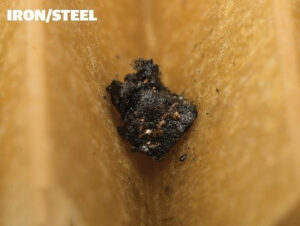
Iron and steel particles are easy to identify because they are magnetic. Simply run a magnet across the particles to verify if they are ferrous. Iron and steel debris can originate from cylinder walls, camshaft lobes or the crankshaft. Abnormal wear of these components may release pieces into the engine oil and subsequently into the oil filter. Depending on the size of the pieces and the condition of the engine, you may want to inspect the components mentioned above sooner than later.
Non-Ferrous Metals
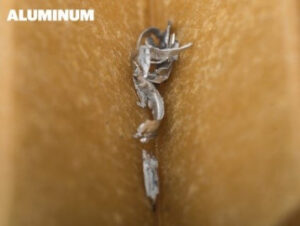 Many modern engines use lightweight aluminium components and pinpointing the origin of shiny aluminium particles in the oil filter can be difficult. One area that experiences regular wear is the piston skirt. Abnormal wear of the piston skirts is often due to contamination that has entered the combustion chamber or the use of the wrong engine oil. Checking the air intake and filter system is a good idea if you believe contamination has entered the engine.
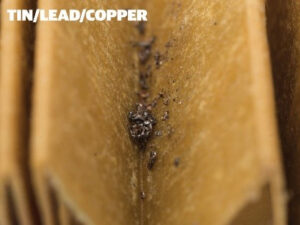 Other small, shiny particles that can be confused with aluminium are tin, lead and copper. These materials are often used in the Babbitt alloy layer of the main and piston rod small end bearings. Insufficient lubrication of these bearings can lead to premature wear of the Babbitt layer and eventually to the failure of the bearing. If remnants of tin, lead or copper are found, it would be wise to ensure that the engine is being properly lubricated with the correct oil.
Non-Metallic Materials
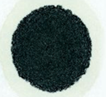
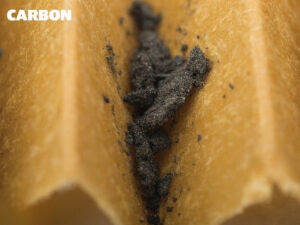 In many cases, you will find some amount of carbon, which is difficult to identify, but the use of a magnifying glass can help. When rubbing carbon between your fingertips it will feel slightly gritty but it will break apart easily. Carbon accumulation is typically a result of blow-by getting past the piston rings. If your engine suffers from excessive oil consumption and low cylinder compression readings, you most probably have worn or damaged piston rings.
In many instances elements found trapped in the oil filter can point you in the right direction when attempting to diagnose an issue with an engine. Sometimes more information may be required and the filter will have to be sent to a professional laboratory for analysis. Either way the debris needs to be identified to take the necessary action to prevent possible serious engine damage.
At Q8Oils we have the people, products and proficiency to assist you with all your lubrication requirements. For more information phone 011 462 1829, email us at info@bcl.co.za or visit www.bcl.q8oils.co.za. Our lubricant experts will be happy to answer any questions you may have.
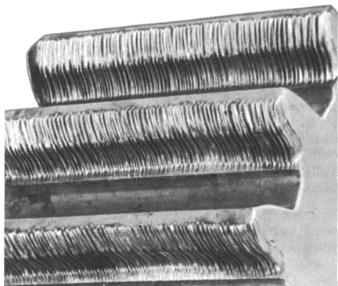
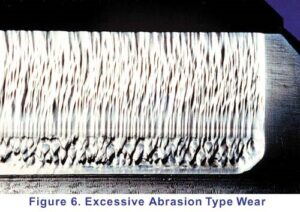 Abrasion can range from mild to severe. Very mild abrasion may cause polishing of gear teeth. Moderate abrasion consists of fine scratches with little removal of material from the contact surfaces. Severe abrasion manifests itself as deep grooves on gear teeth as shown on the right. Abrasive wear is brought about by particle contamination of the oil or rough gear surfaces as discussed below:
 The formation of pits or holes on gear teeth is called pitting and is caused by overload conditions on the gear tooth surface. Severe pitting is also referred to as spalling. A pit forms when small cracks (due to overloading) grow long enough to separate a piece of material at the surface. These irregularities cause additional friction and result in a lot of heat being generated, which in turn reduces the viscosity of the oil. A possible solution would be to use an EP oil with higher viscosity.
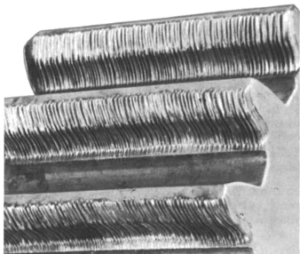 Scuffing or scoring can be described as grooves over a wide area of gear teeth. Scuffing leads to the much more serious wear mechanism referred to as galling as seen on the left. It occurs when a lack of lubrication causes metal-to-metal contact of gear teeth, resulting in elevated temperatures. This can result in localized welding in contact areas. Metal is then ripped from one surface and transferred to the other. This type of wear is also referred to as adhesive wear.
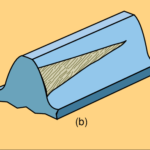
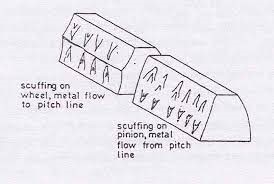 On driven gears metal ‘flows’ towards the middle of the gear teeth, along the length of gear teeth, as shown above and on the left gear tooth in the adjacent diagram. On driving gears metal propagates away from the centre line of the gear as depicted on the far right. Possible solutions would be to use an EP oil with a higher viscosity and reducing the temperature of the oil.

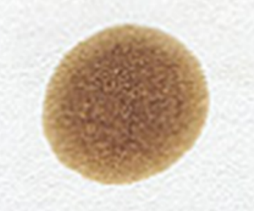
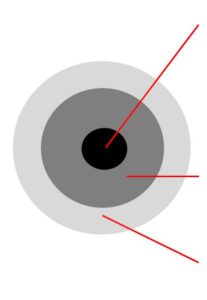
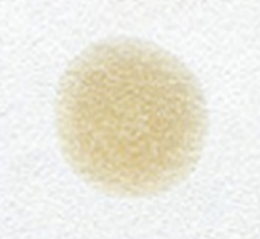
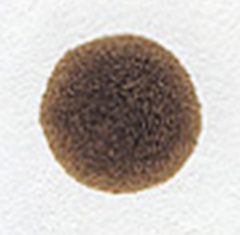
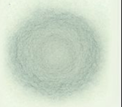
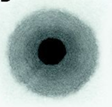
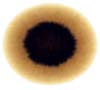
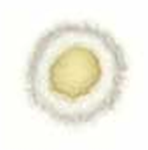
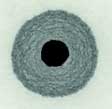

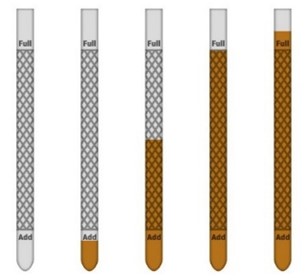
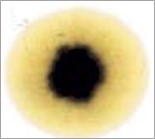 y the contaminant band should spread with the oil to leave a fairly even discoloration. When the oil is badly contaminated, the contaminants clump together and do not migrate with the oil front. This indicates that the dispersancy additive of the oil is depleted.